| Motherboard Installation |
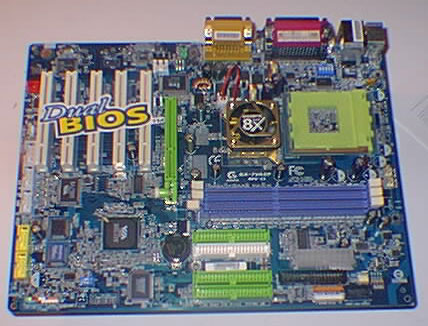
| Ahh.. the board has arrived! The Gigabyte 7VAXP KT400 AMD Motherboard is a true wonder. The original plan was to have an Abit Max2 version 2.0 motherboard (either IT7 or AT7). There where two minor problems when getting the Abit boards, price and the shortage of backplane covers. I ended up looking for alternative boards that had on-board USB2.0, Firewire, 6 channel audio, ATA RAID, and either a 845PE or KT400 chipset. Serial ATA would have been nice, but with the lack of products on the market, I decided that it was not required. The 7VAXP board has been mention in several reviews as one of the fastest and more stable KT400 boards on the market. Around $60.00 cheaper and only lacking Serial ATA, this board was a no brainer. |
|
In addition to the features above, the board also has the comm, printer, and joystick legacy ports. Also included is a RealTek on-board 10/100 NIC, 8X AGP (woop!). I almost forgot to mention that the board is also visually appealing (everyone knows that colored sockets are way faster than stock ones |

|
|
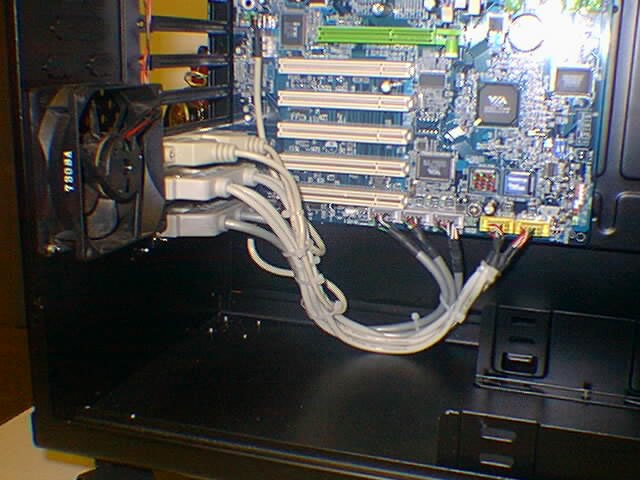
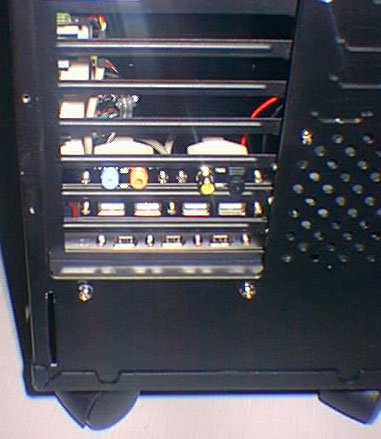
Board installation is typical. Install the backplane cover, install the standoffs in the correct positions, and then screw the board into place. Pretty easy eh? The Firewire, USB, and Optical Out connectors are not on the backplane like the Abit board. Those connectors are installed in three filler plates that come with the motherboard. The connectors simply plug into the headers on the motherboard. |
|
|
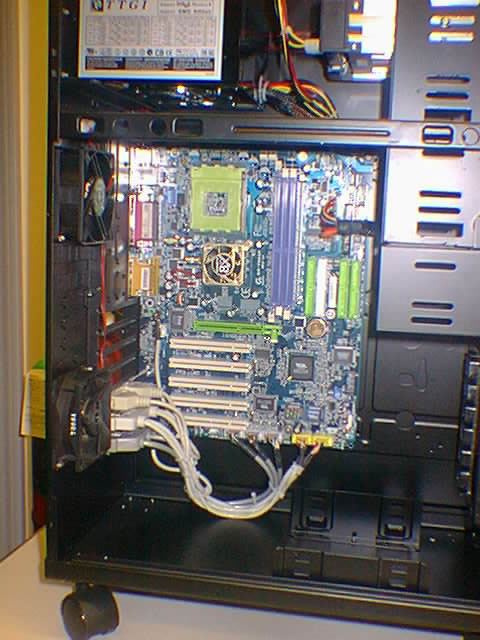
Here is a final shot with the board into place. I should mention that in most cases, you should install the processor, HSF, and memory before installing the board into the case. The nice thing is that this case has enough room to work around, so I decided to go ahead and put the board in. I did, however made sure that the board performed a POST with some spare parts we have around to make sure everything is working. Ignore the fans on the back, there are place holders I was using for the wiring section. |
|
Back to Monolith |
|
©2004-2020 Paul Boehmer |


 |