| Chrysler 300 Tail Light Replacement | |
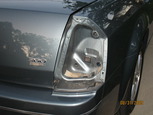
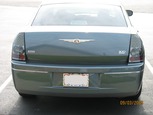
Now that the windows are tinted and chrome lined door molding has been removed, the overall tone of the car is darker. This makes the red tail lights really stand out next to the magnesium pearl paint. I ordered a pair of smoked LED tail lights from Dash Z Racing and received them about a week later. The lights are pretty much plug and play. Below is the before picture.
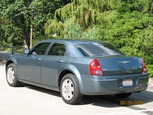
The first step is to open the trunk and remove a single plastic retaining nut. I had mistakenly thought that was all that was needed to remove the OEM taillight, but it turns out there are two more retaining nuts behind the trunk carpet. So I pulled back the carpet and removed the two remaining nuts. 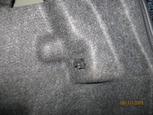
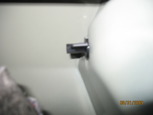

After that, the light is now loose. The next step is to remove the wiring harness from the light. I was hoping that I could pull the light out from the car and then undo the harness, but I needed to remove the harness from inside the trunk. Once the harness is undone, we can remove the tail lights. Now that the lights are removed, I took the opportunity to clean the dirt and grime off of the now exposed paint. 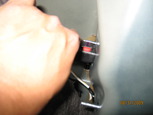
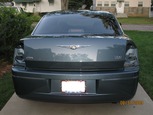
I made my second mistake by slapping the drivers side light in and after some testing, my wife noticed that some of the lights did not work. It turned out, like the headlights that I purchased from Dash Z, I needed to move two bulbs out of the OEM lights to the new lights. While the top portion of the taillight is LED based, the bottom and reverse lights use standard bulbs. So I pulled the light back out of the car and moved the bulbs over to the new tail lights. 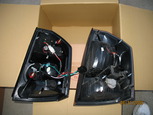
It was starting to get dark, so I rushed through the install without getting picture. You didn't miss much, its the exact opposite of the removal process. Here is the last picture with the lights on and a day shot. 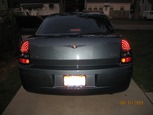
Back to Chrysler Projects |
|


