| Chrysler 300 HID Fog Lights w/LED Halos | |
|
Now that the weather is nice, its back to working on the car. A couple of months ago, I saw a thread on one of the LX forums that someone had rigged HID fog lights with LED halos from a Jeep Cherokee on their 300. He took some pictures of the final product, but didn't go into much information on the modding that went into it. I had been wanting to do this and I finally broke down last month and purchased the HID Fogs for a Jeep Grand Cherokee for about 100 bucks. Other than the fogs, about $15.00 in misc hardware was also used.
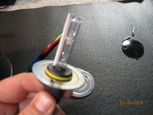
2010.03.07 Here is a picture of the new fogs. My first step was getting the HID 9006 bulbs to fit the light. The bulb that comes with the fogs are not standard bulbs, but hard wired. Pulling the bulb requires the removal of two small screws. 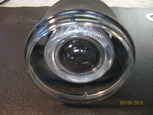
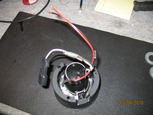
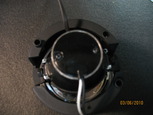

With the bulb removed, a small square hole is exposed which is fortunately just big enough for the HID bulb. Getting the bulb secured into the fog light took some engineering, but in the end I came up with a pretty good solution. With a bad bulb in hand, I went down to the local hardware store and found some 1.5in to 3/4in electrical panel adapters. The bulbs base is 3/4in and the base of the fog light is 1.5in wide so this was a perfect fit. I also picked up some 4/40 1in screws and 1.5in pipe gaskets to seal the bulbs from the weather. 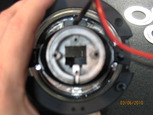
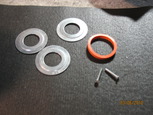
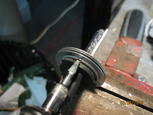
I got home and matched the fog lights back plate to one of the panel adapters and pencilled in some drill marks. To get the bulbs O-ring to seal, I needed 3 panel adapters per bulb. In order to make sure the holes line up on all three adapters, I made a simple jig to hold them in place while I drill them out with a drill press. 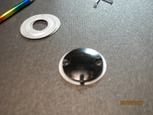
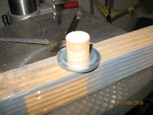
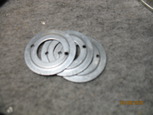
Now that I have the panel adapters drilled, its time to get the bulb installed into the fog light. I put in the pipe gasket on the bulb and then started putting the panel adapters onto the bulb. While the fit is pretty tight, I still needed to make sure the bulbs are locked in. It worked out really good that the holes I drilled for the screws were slightly blocked by the bulbs base, so I dremeled out the base just enough to get the screws in, locking in the bulb. 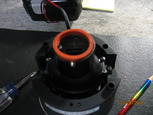
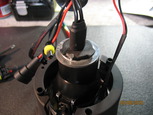
Now that the bulbs are mounted, the next step is to get the fog lights mounted to the car. I removed front fascia of the car and quickly found out the new fog lights will not mount into the existing holes without a lot of work. I pulled one of the stock fog lights and came up with this solution: The stock fog lights come apart pretty easily. Just loosen up and remove the vertical alignment screw and pry the lens off of the mount. 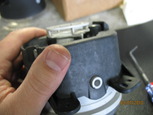
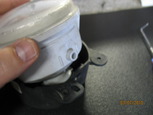
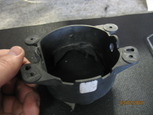
Another trip down to the hardware store. I bought some washers and some 6mm 1.00 pitch x 1in screws and nuts. I bought stainless steel parts because they will be seeing some weather and I didn't want anything to rust. Keep in mind that they are considerably more expensive. 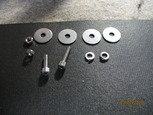
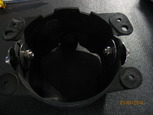
I started to remove the flood light from the mount and found that the two side bolts actually hold everything together. I sealed up the fog light with some silicon and also put some silicon on the halo to keep it in place as well. This keeps everything together until I get the fog light put into the mount. 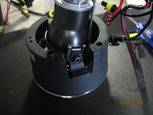
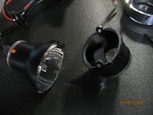
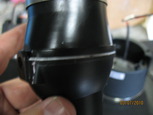
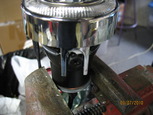
Putting the fog light into the mount is just a matter of screwing the 6mm bolts into the side holes of the fog light. I used stainless fender washers and nuts to space out the mount from the fog light. The tricky part is getting the bolts down tight enough so that the fog lights wont drift vertically, but not tight enough to cause the light to separate. 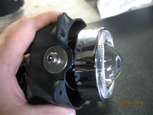
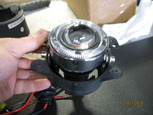
I mounted the fog lights back on and got them wired up. I tied the LED halos into the side markers which are only on when the parking lights are activated. When I put in the LED side markers, I used in-line wire splices. This started looking pretty crappy, so I gutted them and replaced them with butt splice crimps and taped everything up. To keep the HID ballast from flopping around, I screwed the ballast mount into the bumper foam and zip tied the wires to the fog light bezel clips. 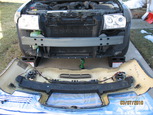
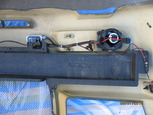
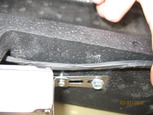
I fire everything up to make sure it works (yay, first try!) and button everything back up. Here are pictures of the finished product, day shot (all off), night halo only shot, and a night shot with all lights fired up. 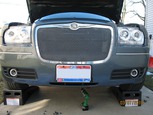
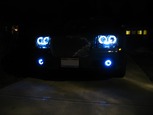
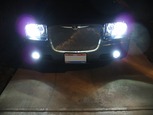
The end results are pretty sweet. The small downside is that the new halos don't exactly match the headlights, but its pretty close. When all HIDs are fire up, it throws an incredibly amount of light. Best of all, the only part that had to be physically changed was the minor grinding of the HID bulbs, so if need be, everything can go back to stock without having to replace any parts. Back to Chrysler Projects |
|


