| Chrysler 300 Grill and Headlight Replacement | |
|
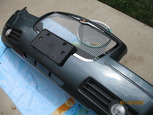
2009.07.18 I received a new grill from American Auto Accessories and Projector headlights with LED halos from Dash Z Racing yesterday. I had originally planned to install the stuff tomorrow, but the weather worked out that I got to install the stuff today (woop!). The installation of the grill and headlights requires me to remove the front fascia of the car, so I ended up ordering a pair of tinted side markers as well, which I received the day before yesterday. Here are pictures of the stock front end: 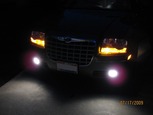
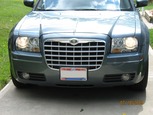
Removing the front end is actually pretty easy. I popped the hood and remove the two plastic fan covers which just pop off. Then we pull out the four plastic pop-molly (not sure what these are called) fasteners. After removing the top fasteners, I remove 6 plastic fasteners (3 on each side) in the wheel well. It helps if you have the tires turned for better access. Most guys that documented the fascia removal typically use a flat head screwdrive to remove these and the tire well covers, but I found that a nail removal pry tool works great. 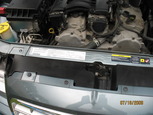
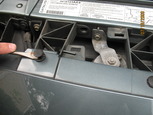
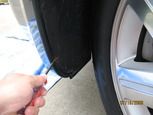
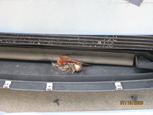
The next step is to remove the 10 7mm screws that mate the fascia to the belly pan. Normally, I would use a drill with a socket extension, but I did not have enough clearance without jacking the car up. It was only 10 screws, so no biggie. After removing the belly pan screws, the only thing left is to pull the wheel well cover back and remove 2 10mm bolts (1 one each side) that hold the fascia in place. With the help of my wife, we each take a side and slide off the fascia, laying it down on some beach towels to keep things from getting scratched up . I was a little surprised to find some road kill below the radiator. Apparently this was a cardinal that I had hit some time ago, since all that was left was feathers and bones. 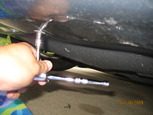

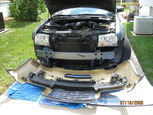
My 2006 300 Touring does not have wiper and fluid for the headlights, so there is only a single cable connector to disconnect to pull the fascia from the car. I do not have a picture of it, sorry, but it is located next to the windshield wiper fluid reservoir on the passenger side. I decide to tackle the headlights first, since there is some electrical wiring to do. Each headlight has 3 8mm screws to mount the headlight assembly to the frame. I opt to use the drill and 1/4in socket adapter to speed up the process. We now have all the parts removed and set off to the side. 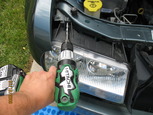
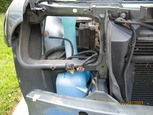
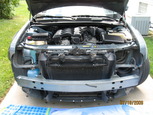
The replacement headlights do not have the yellow parking and turn signal lights installed. These are easily moved from the stock headlights to the new ones. The reason for this is that there are 3 white LEDs that could possibly be used for the turn signal and parking lights, but I am planning to use the stock yellows for the turn signal and the white LEDs for the parking. I start with the drivers side and hook up the lights. The halos and LEDs do not have connectors, so they need to be wired up by hand. I use wiretaps to hook up the halos and LEDs and cut the white/brown wire to keep the yellow lights from getting power when the parking lights are turned on. 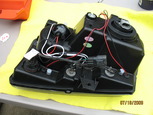
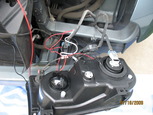
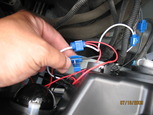
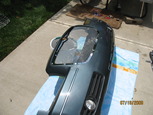
I get things wired up and test the lights to make sure they work. I noticed that the brights did not work on the drivers side and after a little digging, found that one of the pins in the connector were bent up which is quickly fixed using needle nose pliers. The headlights are now finished. The white towel in the picture was used to keep the lens from getting scratched up on the bumper. 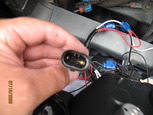
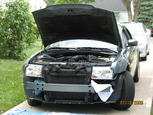
With the headlights done, I am now ready to tackle the grill. There are two plastic screws that hold in a foam block that gets sandwiched between the bumper and fascia. Once the screws are out, I can pull the foam block out a little bit to get to the screws holding the grill in. There are also two clips on the grill that need to be pushed out to release the grill from the fascia. One little gotcha is that the front license plate holder is mounted partially to the grill. Since the new grill is a tight mesh, it will be interesting to see how I am going to make that work. 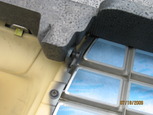
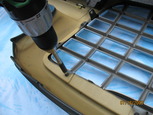
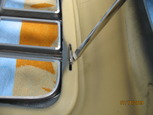
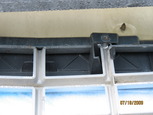
After removing the screws, tabs, and license plate holder, the grill is removed. The new grill fits on a little different, using clip like standoffs to secure the bottom and small metal plates and screws to secure to top. Getting all three bottom clips to go on at the same time was a little more difficult that I imagined. With the grill and the foam block removed, the fascia is pretty flimsy. The grill is now mounted. 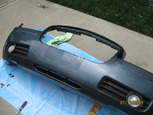
At this point, I have been working on the front end for about 3 hours, not too shabby. All thats left is to replace the side markers and put everything back together. The side markers are secured with just a push tab and a nut. The new markers do not have a cable end, so they need to be wired up with wire taps. I do not remove the connector, just tape it up to protect it from the elements. 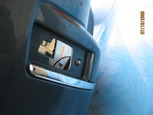
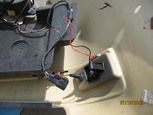
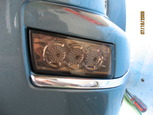
I was just about to put the fascia back on and remembered that I still need to deal with the license plate holder. My initial thought was just to forget about it and just mount the license plate directly to the fascia, but the screw holes for the holder are not the same (they are wider) as the license plate itself, so I am looking at another set of holes. This is not really an option. I take a look at the holder and decide just to cut off the parts of the holder that mount to the old grill. Using a pair of diagonal cutters, I cut away the plastic and then screw the holder back in place. While not a perfect fit, it works quite nice and feels pretty sturdy. 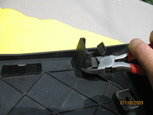
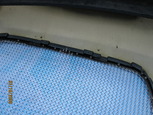
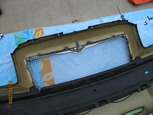
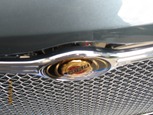
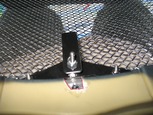
The wife assisted me in getting the fascia back on and before bolting it back on, I test the side markers and fog lights to make sure they work (they do). It is a little tricky getting the fascia back on due to the way it slides into place. I wish I had pictures of how it mounts, but there is a metal plate that the fascia slides into to keep it centered. I secured the fascia with all of the appropriate fasteners and gave the front end a nice wipe down. During the wipe down, I noticed a problem with the emblem on the grill. It was sticking out about 1/4" from the grill (highlighted with a magenta arrow in the second picture). At this point, I got a little flustered (read several curse words) and starting poking around behind the grill. Turns out there is a long standoff on the emblem and it has nowhere to go but out when I tightened down the retaining plate. I pulled out my trusty diagonal cutters and cut out a piece of the fascia (highlighted in picture 3) so the emblems standoff just pokes right through. The retaining plate is turned off to the side of the standoff and tightened down. 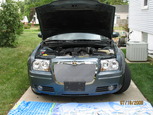
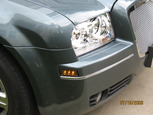
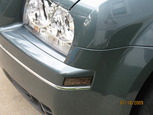
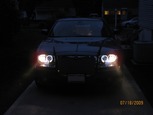
With the emblem crisis resolved, I put down the hood and take some final pictures of the completed job. The whole process took about 4 hours with about 45 minutes of which figuring out the wiring for the halos, parking lights, and turn signals. After doing this, I once again have the grease monkey bug. 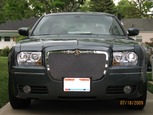
Back to Chrysler Projects |
|


