| Chrysler 300 V6 Dual Exhaust Install | |
|
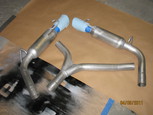
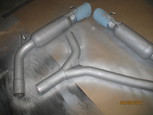
20110409 I received my dual-exhaust kit from BlastinBob yesterday and since the weather was not going to cooperate to install it this weekend, I decided to protect my investment by giving the parts a coating of exhaust paint. The BlastinBob V6 6db kit consists of two glass pack resonators with 4in stainless steel rolled tips, a Y pipe, three clamps, and hanger hardware for the second resonator. The existing OEM hanger will be used on the other resonator. Here is picture of the two resonators and the Y pipe. 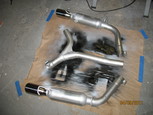
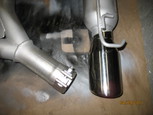
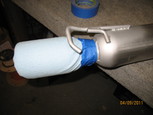
The first step is wrapping up the stainless tips to keep them from getting scratched and from over spray. I used a couple sheets of shop towel and painters tape to keeps things nice. 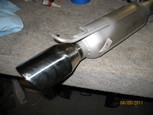
I used a gray pad (synthetic steel wool) to rough up the finish enough to make sure that the paint has something to stick to and then cleaned up all of the parts with acetone. Once the parts are cleaned, I applied several coats of VHT's silver header paint. I really wanted black, but it seems that black is a hot commodity and none of the local auto parts stores had it in stock. Since the exhaust will not be visible, not a big deal. 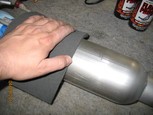

20110417 Finally had a nice sunny and warm Sunday to install the exhaust. I jacked the car up and secured it with jack stands. The BlastinBob kit comes with brief instructions and since installation requires cutting of the bumper, templates are also included. The first step of the instructions is to mark off 6in from the first hanger coming off of the muffler. This is where I will cut the exhaust pipe to drop the resonator. 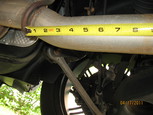
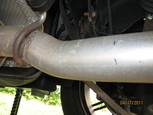
I had just purchased an air saw with some course blades a couple of weeks ago, so I initially tried to use it to cut the pipe. This pretty much just resulted in scratching the pipe. It was time to pull out the big gun, as in my Hitachi reciprocating saw, which cut the pipe like butter. 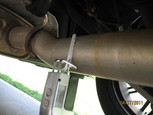
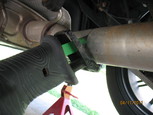
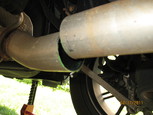
With the pipe cut, now its time to drop the existing resonator by removing the hangers. Its hard to tell from the pictures, but I found it a lot easier to just removed the hangers from the bolts than to try to wrestle the rubber dampers from the hangers. These bolts come off fairly easy with a 13mm socket. Once both hangers are removed, the resonator and remaining pipe are dropped and set aside. 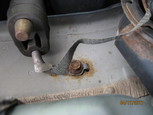
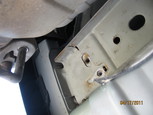

Once the resonator is dropped, I separated the rubber dampers and re mounted the rear most hangers. The BlastinBob kit comes with a second set of hangers, but the included bolts are not tapered like the OEM ones. Since the hanger holes in the drivers side have never been used up to this point, they are pretty gunked up. I ended up using the BlastinBob bolts in the passenger side holes and the OEM tapered bolts in the drivers side. With the help of an impact wrench and some WD40, the OEM bolts went in without too much fuss. Now, the reason for putting on the hangers is to determine where the cuts on the bumper are going to be made. This is when I called for help from my lovely assistant. 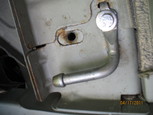
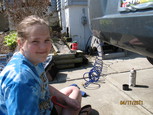
With the rear hangers in place, we simply tie kite string from the center of the hanger and bring the string towards the rear of the car and up a couple of inches on the bumper. The trick is getting the string parallel with the drive line of the car. Secure the ends of the string with tape and take a step back to see how everything looks. For those with a sharp eye for detail, the last picture just shows the initial placement. It ended up taking about 30mins and four sets of eyes to determine the final placement. 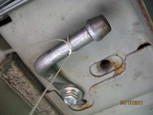
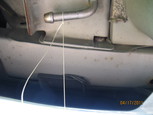
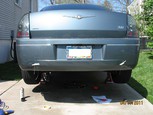
Once the string is centered up, go ahead and cut out the templates included in the instructions. Tape the templates up to the bumper matching the center line to the string. To make absolutely sure my measurements were right, I went ahead and loosely mounted the exhaust. I then used a grease pencil to mark my cut line. 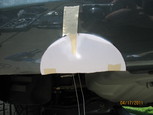

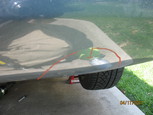
Now to go for broke. I really contemplated this part and started coming up with contingency plans if the cuts got screwed up. I quadruple checked and then fired up the air saw. I cut around 1/8in away from the line and then followed up the cut with a die grinder. 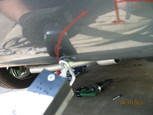
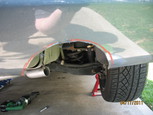
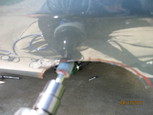
To clean up the cut outs further, I wrapped some 320 grip sand paper around a 3in wide piece of PVC. 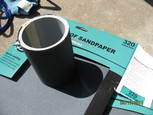
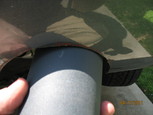
With the holes now cut out of the bumper, its time to hang the resonators. I mounted the dampers to the resonators and then put the hangers on. Working from the muffler back, I loosely mounted the resonators and lined everything up. Then I locked everything down using the impact wrench. 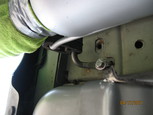
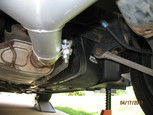
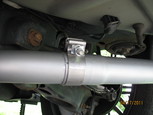
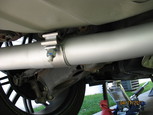
Here is the final result with the holes cut and the resonators mounted. Right now, it doesn't look too bad, but it doesn't look too great either. Anticipating the look of the cut bumper, I purchased a bezel kit (MOPAR part# 82210055) that was originally used for a 2005+ Dodge Magnum when I bought the new resonators. The bezels are finished in a black plastic, but I ended up color matching them to match my car. 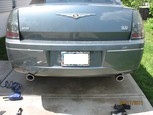
As with the BlastinBob kit, the bezel kit also comes with templates. Simply cut them out and tape them to the bumper. The templates are side specific and as an added bonus, they do not indicate which side is which, so make sure they are correct before drilling. Once the template is fixed, go ahead and use an awe or center punch to set the drilling points. Once the points are made, go ahead and remove the templates and drill the holes using a 1/4in drill bit. 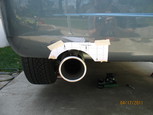
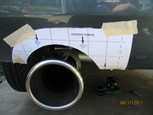
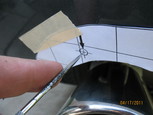
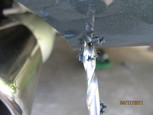
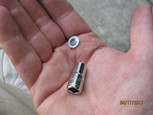
Now the holes are drilled and the bezel just slides in. The bezel has four plastic pins that are secured with these retaining rings. To help put the retaining rings on, I used a small socket and pressed them in by hand. There is not a lot of working room from behind the bumper, so its a bit tricky. At some point down the road, I may remove the bumper fascia to tighten these a bit more. 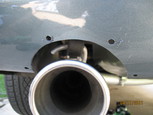
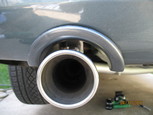
Here is a before picture and finally the finished product. I definitely likes the bezels with the resonators as opposed to just the cut bumper. Color matching is just about perfect as well. 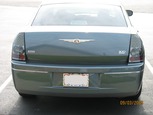
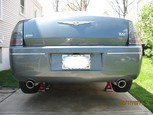
When I first received the BlastinBob kit, I was a little worried that the tips would look a bit "ricer" on my car and worried even more about the ricer drone. I was assured by several people that the BlastinBob 6db kit would sound great. Even though the car is not a Hemi, its low tone idle sounds pretty mean. There is very little drone around 2500 RPM, but it is definitely not the coffee can ricer tone. The kit is very well built, well priced, and best of all, pretty easy to put in. It was a little scary cutting up the bumper, but in the end, I think it turned out perfect. Back to Chrysler Projects |
|


