| Chrysler 300 Adjustable Rear Camber Bushing Install | |
|
20100614 Shortly after I installed the BCR coil-overs, I took that car in for an alignment. I could tell that the rear was a little negative camber (bottom of tires further out than top), so I was hoping that it could be fixed by the alignment tech. I found out that the Chrysler 300's rear camber is fixed and in order to get the camber back into spec, I needed to get an adjustable rear camber kit. The tech got the fronts within spec and left the rears as-is. When I get an alignment done, I usually request a print out of the results. This paper will show you the before and after readings of the alignment. In my case, my rear camber was off -1.2 degrees on the drivers side and -1.3 degrees on the passenger side. With the alignment information, I started looking at the forums and found that a company called SPC makes two different kits, a .75 and a 1.5 degree kit. Since mine was out by 1.2-1.3, I obviously needed a 1.5 kit. That being said, I am not sure what the point of the .75 kit is, when a 1.5 will work in that scenario as well. I ordered my kit and received them a couple of days later. 20100619 I attempted to remove the existing bushings with the tool (lack of a better word) I used to remove the steering rack bushings and ended up breaking a bolt and stripping a couple of nuts. A close inspection of the bushings looks like they are tack welded in, but I was assured that they are punched in and in order to get them out I needed a bushing extractor or a bench press. In other words, I need a heavier duty tool. I put everything back together and will try to get a tool this week. 20100629 Had my first visit to the local Harbor Freight store. If your a tool junkie like myself, this is a candy store. Lotsa stuff and prices are friggin awesome. There is one caveat... don't come looking for name brand tools (ie Dewalt, Bosch) like you see at Lowes or Home Depot. One of the people on the forums suggested using this 3 in 1 ball joint service kit. Heck at 40 bucks, this was a deal, even if I use the tool only once. Since this weekend is the 4th of July, the bushings will have to wait until next weekend. 20100710 I finally had a weekend to put the bushings in. I got a little later start than I planned, but at least it was a nice day. I ended up taking pictures after I had finished the drivers side and started on the passenger side. Basically, I had raised the car, pulled the tire, and unbolted the tension and camber links. Here is the picture of the links dismantled. 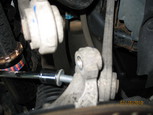
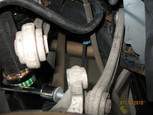
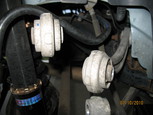
The 3 in 1 service kit which is more or less a glorified C-clamp with a punch at one end and a cup at the other. The only bad thing about the tool is the fact that the tool parts do not attach together, but kinda just sit into each other. The process of holding the tool together and tightening up against the bushing is a real pain. I spent a considerable amount of time and F bombs just getting the tool set up. Once I got the tool in place, its just a matter of tightening the screw to push the bushing out. To increase leverage, I ended up using my torque wench. 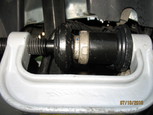
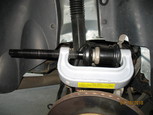
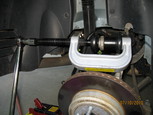
If you look at the pictures above, you should be able to spot the problem that I ran into. The punch does not extend out far enough to push the bushing all the way out. Even with the bushing half-way out, it still will not budge. I removed the punch and put in the largest socket that I had on-hand that would fit. I know this is gross abuse of a tool, but it worked like a charm and actually didnt hurt the 15/16in socket. I actually had a 1 1/16th inch socket, but it was a deep well and in turn was too long, even though the diameter was almost dead on. 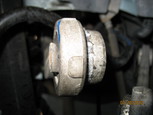
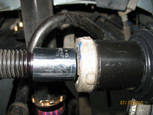
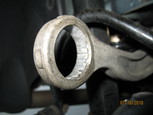
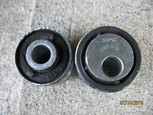
Here is a picture of the OEM bushing removed and then a picture of the OEM compared to the new SPC adjustable bushings. The off center hole allows the camber to be adjusted from -1.5 to 1.5 degrees. 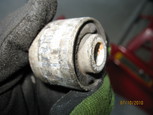
Putting in the bushing is just the opposite of the removal, but a little more tricky since now I have to hold the tool together and hold the bushing in place. Since I needed 1.2 degrees of camber, I positioned the hole away from the car, but just tad from the furthest point. I will still need to have an alignment tech to dial it in, but I can get close. The new bushings push in without too much fuss, although it takes a bit of muscle to get them in. 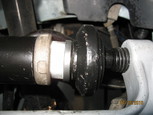
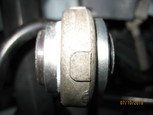
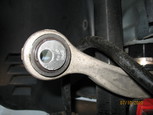
The kit consists of four bushings, two for the camber links and two for the tension links for each side of the car. This means I have to repeat the whole process three more times, yay!. The bushings for the tension links are identical to the camber links with the exception of how off-center the hole is. There are color coated, camber is silver and tension link bushings are brass colored. 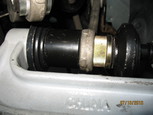
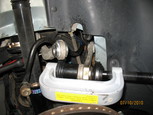
I ended up running out of time (and daylight) and had to finish up the next morning. I was a little pressed for time, so I didn't take any pictures. Pretty much just bolt the links back up and torque to spec, but the wheels back on and your done. I am actually a little positive in camber now, but I'll get the car back in for yet another alignment this coming weekend. Back to Chrysler Projects |
|


