| Article ID | 20020313A |
| Subject | How to install FreeBSD...My way! |
| Concept | A walkthrough of my typical FreeBSD install procedure |
| OS | FreeBSD |
|
I have many people ask me "How do you load FreeBSD?". Its seems like a cut and dry question and its easy enough, but there are different ways to install FreeBSD. Like I mentioned before, I work for a Small ISP that has 20+ servers that run FreeBSD. I have loaded FreeBSD more times than I can count and during all those installs, I have formulated a procedure that works pretty good for me. This article will be a step-by-step of my installation procedure, from boot to login, my way :) I will not go into X-Windows installation and configuration in this article, as there are plenty of resources on how to do so available on the web. The installation documented here will take place on my FreeBSD machine though a VMware Guest. I found that this is the best way to document with screenshots the full procedure. The steps for the procedure will be: |
|
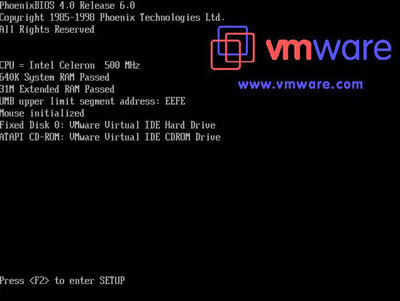
Lets boot up our system so that the computer will boot off of the FreeBSD CD. This is my VMWare virtual machine booting up.
| ||
|
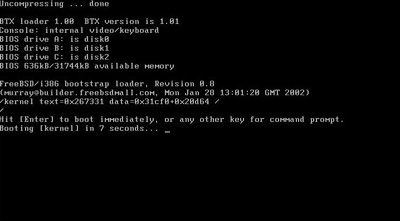
You'll know that the FreeBSD CD is booting when you get the following screen. You can press enter or just ride out the 10 second wait time to boot the GENERIC kernel. |
|
The next screen will be the Kernel Configuration Menu. Unless you have experienced problems installing FreeBSD prior, you can safely skip this step by selecting "Skip Kernel Configuration and continue with the Installation" and pressing enter. |

|
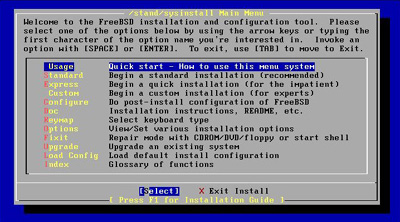
After the Kernel Configuration Screen, FreeBSD will start of the sysinstall program. This is the installation "shell" program. You can run this program anytime after the initial installation if needed. |
|
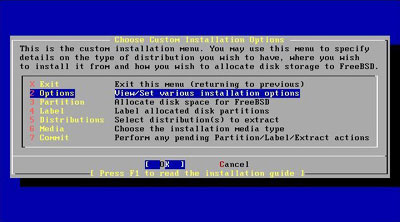
I prefer the Custom Installation. I find this is the easiest way to get exactly what you want. Its also nice because you just go down the menu during our installation process. Select Custom and press enter. |
|
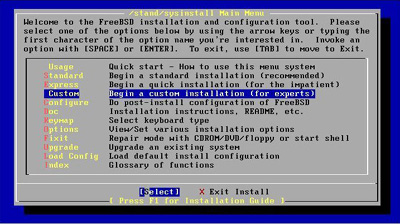
This is the Custom Installation Menu. We will start with "Options" and work our way down the menu step by step. Select Options and press enter. |
|
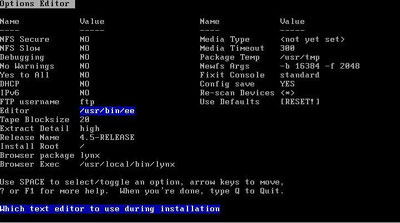
Now you are in the Options Editor. For the most part you will not need to change anything here. I do, however, change the Editor type from ee to vi. This is my personal preference and makes no real difference in the installation. To change, I arrow down to Editor and press the spacebar. |
|
|
©2004-2020 Paul Boehmer |


 |