| Chrysler 300 Suspension Upgrades | |
|
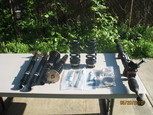
2010.05.20 For my birthday, I decided to take a couple of days off of work and put in my BC Racing coil-over shocks and new steering rack. I started this install at 9:00 in the morning. Here is the pre-install picture and a layout of the new parts being installed. From left to right, rear shocks, front struts, rear springs, misc parts and wrenches, and finally, the new steering rack with the Pedders bushings installed. 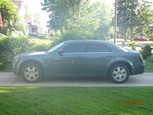
I opted to replace the steering gear first. So the first thing is to raise the front end and tie down the steering wheel to prevent the steering wheel from moving. Unfortunately, the Chrysler 300 steering wheel does not lock, so I had to be a little creative with some bungee cords. Once the steering wheel is secured, I used a siphon pump to remove all of the power steering fluid from the reservoir. The next step is to remove the tires and then disconnect the outer tie rods from the hub. In order to keep the wheel alignment somewhat close, I used a digital dial caliber to measure the position of the outer tie rod threads. 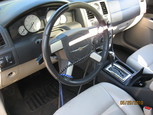
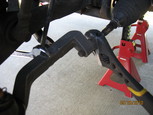
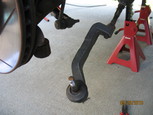
After the out tie rods are loose, the next step is to remove the steering coupler from the gear. This is were its important to lock down the steering wheel. The coupler ties the steering column to the gear. Before removing the coupler, you will need to fully extend the telescoping column. The coupler uses two tension bolts for the connection. Loosen both and remove the coupler. 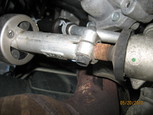
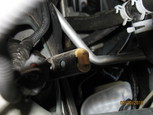
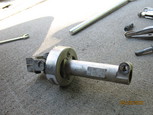
The next step is to remove the supply and return hoses from the steering gear. Have an oil pan or similar container ready, since whatever power steering fluid in the system will drain out. This is why you need to empty the reservoir. I found this out the hard way, as the hoses seem to have a mind of their own and I ended up getting fluid all over the place. 

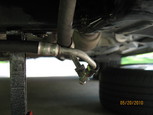
The service manual said that I needed to remove both heat shields that protect the inner tie rod bellows from the exhaust. Really, you only need to remove the driver's side. Once the heat shield is removed, then all you need to do is remove the three bolts that hold the rack to the frame. The two main bolts are threaded directly to the frame and the third has a nut. Its a little tricky holding both sides of the bolt. 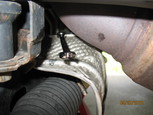
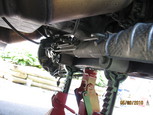
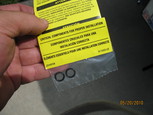
Here is the old and new steering gear. Since I replaced the outer tie rods a couple of weeks ago, I just moved them to the new steering rack. I wrote down the measurements that I took with the dial caliber earlier and just used those measurements when I put them on the new rack. Before installation of the new steering gear, I needed to replace the O-rings on the hoses. 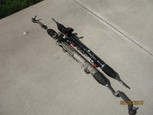
Installation of the steering gear is reverse of the removal. I got a little rushed and didn't take any pictures. Once the gear is installed and hoses are connected, turn the steering wheel all the way to the left, fill up the reservoir to the cold full level and left sit for a couple of minutes to let it settle. Then, turn the steering wheel lock to lock 20 times and re-check the fluid level. When you start the engine, prepare for an odd noise as the steering pump fills with fluid. Let the engine idle for a couple of minutes before turning the steering wheel, then check to make sure everything is working correctly and there are no leaks. Replacing steering gear took about three hours. With the steering gear replaced, its time to move on to coil-overs. Since I put everything back together in order to make sure that the steering gear was installed correctly, I had raise the car, pull the tires, and disconnect the outer tie rods. Again, I was running out of time, so I skipped taking pictures for some of the steps. Changing out the front struts is actually not too bad. Just remove one of the stabilizer link bolts (top or bottom) and then loosen the top shock clevis bolt and remove the bottom bolt that connects to the lower control arm. There are three bolts that hold the top of the strut to the wheel well. 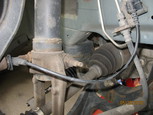
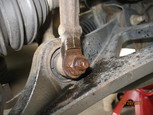

Installation of the new strut is just the opposite of the removal. I did have a little problem getting the drivers side tension strut back into place. I ended up using another jack to help push the strut into place. 
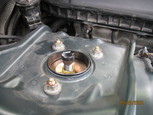

Changing out the front struts took only about two hours. About 30 minutes of which was spent getting drivers side tension strut into place. Even with the troubles with the tension strut, this is nothing compared to replacing the rear springs. Changing out the rear springs and shocks is a lot more tricky. Actually removing the parts is pretty easy, its getting the new ones in that is a pain in the butt. First step is to remove the rear shock, which is held into place with two top bolts and a single lower bolt. After the shock is removed, the lower control arm needs to be disconnected from the rear cradle to remove the spring. The service manual says that you need to remove the entire rear cradle, but removing the spring without doing so is doable. 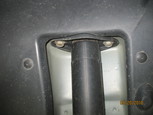


Here is the picture of the new rear adjustable spring. There are two brass colored rings, the lower ring adjust the height and the top ring locks the lower ring. 
This is where the fun begins. With the new spring in place, the next step is getting the rear control arm back into place. They way I did it was to use two jacks, one near the control arm pivot point and then other about mid point. It took me several attempts to find the sweet spot, but once you get it close enough, put a smaller bolt or in my case, a screw driver. I spent the majority of the time just getting the control arm into place. 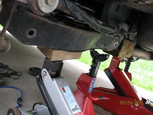
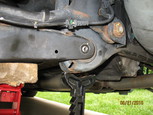
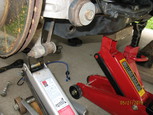
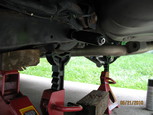
At this point, I had run out of time for the day. From 9:00a to 5:15p, I was able to replace the steering rack, front struts, and just about finished the passenger side rear. Not bad considering I had never done it before and I was by myself. The weather was nice enough to cooperate the next day and I was able to finish the rear shocks and springs. Once I was able to figure out how to remount the rear lower control arm, the drivers side went a little more smoother. Here is a picture of the completed rear spring and shock. 
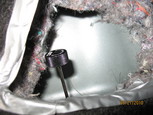
While the front damper adjustments are easy to get to, the rears are a little more tricky. In order to easy damper adjustments, BC Racing includes extenders that attach to the damper control. So I poked a small hole into the trunk carpet and ran the damper cable. To my dismay, the angle was too sharp and the extender wouldn't turn. So I took the plunge and cut a small 3x3in square and used the smaller damper adjustment. While this looks pretty rough, I am trying to locate a couple of recessed boxes with a lip to clean things up. 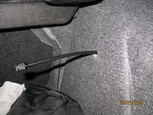
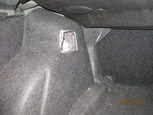
Here is the stance when I finished. I currently have the front dampers set to 15 and the rears at 18. These numbers are number of clicks from the softest setting. I took the car the next day for an alignment. At this time, the 300 rear camber is not adjustable, so I will need to get a camber kit. The current rear camber is noticeably negative 1.9/1.5 degrees. Also, in addition to the camber kit, I will probably put in the supplied spacers for the rear springs as I am almost topped out in the height setting. Also in the shopping list is the already mentioned boxes for the rear damper controls. 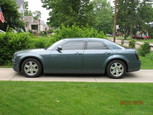
2010.05.23 I had a chance to take the car out for a test drive and was pretty happy. I will probably tweak the damper settings over time, but the ride is very solid and there is very little body roll in the turns. It will also take a week or two for the suspension to break in and settle. Back to Chrysler Projects |
|


