| Chrysler 300 Sunroof Squeak Fix | |
|
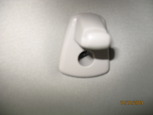
I always liked having a sunroof in the cars I owned, although only two of the four of them actually had them. The first car was a 86 Pontiac Sunbird and when it was dry out it was a wonderful thing, but when snow and rain came around, it sucked. In fact, every time I made a left hand turn in the Sunbird, it would literally dump a half-gallon of water in the passengers lap, which always makes a great impression on dates (why my wife married me is still a mystery to this day). While the 300 doesn't leak, it does squeak. Now I am the type of driver that likes to crank the music to ear splitting levels, so the squeak was not noticeable in the least. Now that I am taking the car on more family trips and errands, when I can't crank the music, the squeak is almost a mind numbing kick in the teeth. The squeak is a known issue with the bolts that hold the sunroof frame in. Over time, the bolts become loose and the frame starts to move slightly, resulting in the squeaking. The fix is not that hard, but it does require dropping the headliner. Here's how I did it... Tools: #2 Phillips screw driver T45 Torx bit T55 Torx bit 10mm socket and ratchet 7in pry bar (taped to prevent scratching) Small tube of thread locker The first step is to remove the sun visors and the visor clips. If you have lights connected to the mirrors on the back side of your visors, the visors will not be completely removed at this time, just let them hang. They are all held in with screws with the T45 Torx head. 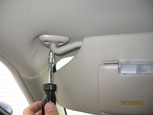
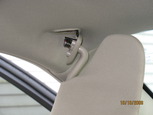
Next is to remove the A-pillar on both sides. I used the pry bar to pull the pillar molding away. There is a black pin retainer that is a little stubborn, make sure you remove the entire retainer (snapped into the frame). When you remove the retainer, separate the pin from the retainer and put the retainer back into the frame. I'll be honest and say that I had originally forgot about removing the ceiling mounted console (lights, sunroof control), now is a good time to do it. It is just snap clipped into place, so a gentle yank will get it out, just be mindful of the electrical connectors for the lights and sunroof control . 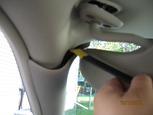
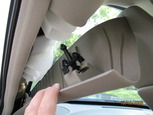
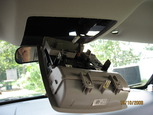
Now that we have the front of the car taken care of, now its time to remove the B-pillar molding. Remove the seat buckle turning loop cover (just snapped into place) and then remove the loop assembly with the T55 Torx bit. When you lower the belt to the floor, two Phillips head screws will be exposed. Remove those and pull the upper end of the bottom molding away. This will expose a Phillips head screw holding in the upper B-pillar molding. Be careful not to drop the screw down inside the panel. 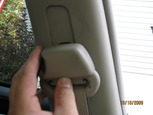
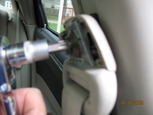
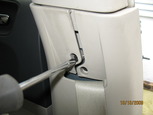
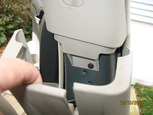
With the screws removed, remove the molding. I had to use the pry bar to get the top portion loose from the frame. After that, I started working the headliner slowly away from the rubber molding. Patience is key here, if you go too fast, you will probably crack or bend the headliner. I didn't get pictures, when you start dropping the headliner, the connector for the sun visors will be exposed. Just disconnect and drop 'em. 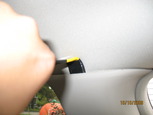


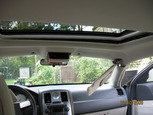
The next step is to remove the ceiling mounted back seat courtesy lights. Again, these are just held in with two T45 Torx head screws. The tricky part is removing the electrical connector for the lights. I ended up using a small pocket knife to pull the retaining clip away from the connector and pulling on the light assembly. When you are putting the lights back in, I found its easiest to use needle nose pliers to hold the connector and then push the assembly into the connector. 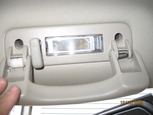
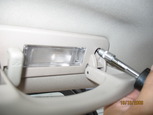
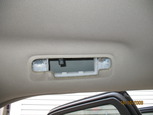
After the courtesy lights are removed, the last step in removing the head liner is to remove the C-pillar molding. Most people will say that this is an optional step and I would almost agree, but I had a hard time getting my hands and ratchet in between the roof and headliner to reach the rear most frame bolts. I decided that it would be easier to drop the entire headliner. The C-pillar molding is just snapped into place, so it came out with a little help from the pry bar. 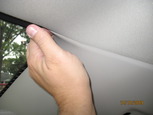
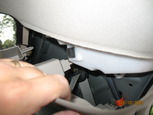
The tricky part, which I admit I failed at, is removing the rear clips holding the headliner up at the rear of the car. Apparently, how the headliner is attached depends on what kind of mood the installer was in that day. In my case, I had Velcro glued to the frame and headliner on the passenger side and then a plastic clip glued to the headliner on the driver side. Also, in my case, I pretty much ripped the glued parts off of the inside of the headliner (no visible damage, thank God). Not the end of the world, just ended up re-gluing the parts back into place. At this point the panel is resting on the head rests and the frame bolts for the sunroof are accessible. 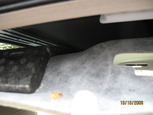
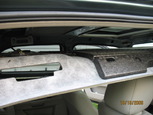
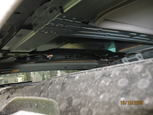
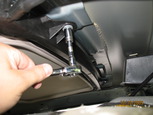
Now that the bolts are accessible, its just a matter of removing the bolts, applying the thread locker to the bolt, and then putting the bolt back in. This probably doesn't need to be said, but work on the bolts one at a time and refrain from removing all the bolts at the same time, as this could potentially result in your sunroof getting misaligned. 
Putting the headliner back into place is pretty much the opposite of the removal. Here are some potential issues that I ran into when putting the headliner back in. 1. The C-pillar molding is a PITA to get back in (probably why most people skip that step). If you start from the back windshield and move towards the front and go from top to bottom, it goes a lot easier. Keep an eye on the middle lower snap clip as it tends to bend. I ended up using a larger pry bar to keep the clip straight while pushing the molding back into place. 2. Like I said above, use needle nose pliers to hold the electrical connector and push the courtesy light assembly into the connector instead of trying to get the connector into the assembly. Also, if you need to glue the rear of the headliner like I did, the assemblies wedged in between the headrest and headliner work pretty good. 3. When putting the screws back into the B-pillar molding, make sure that you don't drop it down the lower section of molding. If you do, you will need to remove the rest of the molding to get the screw (or you can just replace it). 4. Don't forget to hook up the center console and sun visor connections. 5. Take your time getting the side and sunroof rubber molding back over the headliner. Its tedious and not very fun. Use the pry bar to carefully skim the molding over the headliner. I think that covers it. Interestingly enough (and to my disappointment), none of my bolts were that loose and they did appear to have thread locker on them. But, now that everything is back together, the ride is considerably quieter and the squeaking is almost non-existent. I do have some real minor squeaking that sounds like its coming from where the sunroof glass and the rubber seal come together, but this is a definite improvement. Back to Chrysler Projects |
|


