| Chrysler 300 Backup/Reverse Camera Install | |
|
I installed my Pioneer Avic-D3 stereo a couple of weeks and one of the features is that it takes multiple video inputs as well as a reverse camera input. About the same time, my wife was driving the 300 and mentioned how hard it was backing out of our driveway in the dark with the tinted windows. I shopped around and picked up a no name backup/reverse camera with built-in night vision for about 40 bucks. Along with the camera, I purchased a cable kit for the camera since the camera leads were too short. Here is how I installed it... 20101111 I had been sitting on the camera for a couple of days now. Fortunately, I had a couple of days off (mix of holiday and vacation) with nice weather, so I decided to take the plunge and install the camera. The first thing was to run the video/power extension cable from the rear bumper to the stereo head. The first step involves removing all of the contents in the trunk and removing the trunk floor board (just pulls out), along with a handful of plastic rivets holding the side carpet in place. I also folded down the rear passenger seats for better access. I snaked the wire along the driver's side rear quarter down to the rear passenger seat molding. 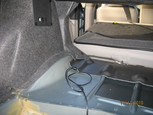
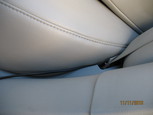
From the rear passenger seat, I then tucked the cable underneath the floor and B pillar molding. Next to the driver's seat, the kick panel molding just pulls up as does the molding next to the dashboard. 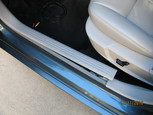

With the molding removed next to the dash, a screw is exposed and removed to allow the bottom portion of the dashboard to be pulled away enough to feed the cable behind it. From there, the cable goes into the radio cavity. Its hard to tell in the last picture, but I removed all of the unused wires from the Avic's accessory harness (video in/out, etc). For now, I am feeding the camera to the video-1 input. I did this so the camera can still be used when the car is not in reverse. Instead of wiring to camera power to the reverse indicator light, it is powered by the car's accessory power. 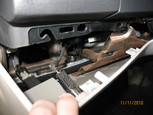
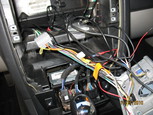
Before putting the dash back together, I double-check with the camera to make sure all of the connections work. Fortunately, everything works as planned and I am out of time for today. 20101112 Now for the hard part, removing and drilling the rear bumper cover. Along the top of the bumper just outside of the trunk are three pull rivets and two screw rivets with rubber stops. All of those get removed and will be re-used. Along the bottom of the bumper are four more of the pull rivets, which I will note, do not need to be removed :) I ended up having to remove the rear tires to remove the pop rivets that hold the fender well liner to the bumper. These will have to be removed as they will be destroyed removing them. The only thing left are two 10mm screws (one on each side of the car). 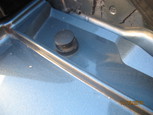
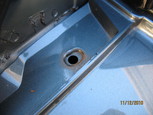

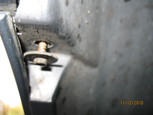
From there, the bumper just pulls right off. If you noticed just below the right side tail light, there is a rubber boot that has some wires coming out. This is the power for the license plate light which feeds from the trunk. 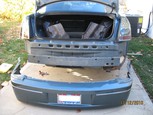
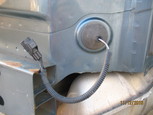
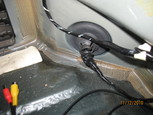
I removed the existing electrical tape from the boot and cut a small slit in the boot. I feed the cables through the slit and tape everything back up. 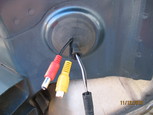
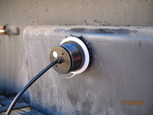
I had a basic idea where I was going to mount the camera. The camera is weather sealed, but I didn't want it to stand out like a sore thumb. When I pulled the bumper cover, I also found out that the bumper prevents me from mounting the camera in the exact spot that I had originally wanted. I decided to tuck the camera up next to the license plate just under the bumper overhang. The camera is 1in in diameter with a 1.25in bezel. The plan of attack was to drill a pilot hole followed by a 3/4in hole saw. I have just one chance to do this right... 
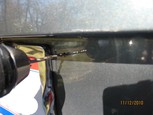
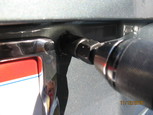
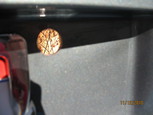
Looks pretty good right... well not exactly. The hole turned out really nice, but it was too small. I was hoping that the 3/4 hole saw would "wobble" enough to accommodate the camera. I had two choices, to use a Dremel and grind out the difference or step up to a 1in hole saw. With the combination of time constraints and the thought of having to grind out the hole, I decided to step up to the 1in hole saw. In hindsight, this was really really stupid. The 1in saw ended up wobbling just enough for the whole camera to slip straight though, in other words, hole is now too big, doh! So, the rear of the car is in pieces and I have to pick my daughter up from school in around three hours (hence, the lack of pictures). Its doable, but it'll be close. I start digging around my shop for something that I can use as a grommet, spacer, or washer with no luck. Since my car is on jacks, it looks like I am walking to the neighborhood hardware store. Its about a 15min hike to the hardware store where I picked up anything that could possibly work. I was able to find 1in plastic panel grommets. Funny thing (at least now its funny now), is that I needed the Dremel to open up the grommet enough for the camera to fit in and ended up having to slightly enlarge the hole in the bumper as well. If I would have used the Dremel to begin with, I would have saved about two hours of time. With the camera now securely fastened to the bumper, I reassembly the bumper (without any problems). 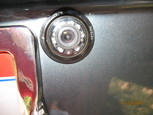
Back to Chrysler Projects |
|


