| Chrysler 300 Replace Front Drivers Side Drive shaft | |
|
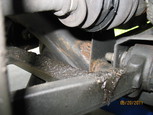
20110520 A couple of weeks ago when I was changing my oil, I noticed that my driver's side CV joint boot had split and spewed grease all over the undercarriage of the car. Since the CV joint is a non-serviceable part, and I didn't want to deal with repair kits, I ordered a replacement drive shaft from chryslerparts.net. The part came within a week, but due to weather (and my lack of garage), I was forced to wait for a nice day to do the repair while I risked a total shaft failure driving back to forth to work. 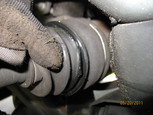
The first part is jacking the car up, securing it, and removing the driver's side wheel. With the wheel removed, remove the two bolts behind the rotor that hold the brake caliper to the assembly. To remove the caliper from the rotor, you may need to loosen the two caliper pin bolts. Secure the caliper with a bungee to get it out of the way. 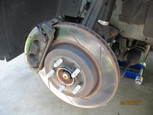
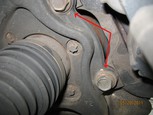

With the caliper removed, the rotor just pulls right off. Cut and remove any retaining washers holding the rotor in place. Now unbolt the outer tie rod and disconnect the ball joint using the appropriate tool(s). 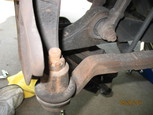
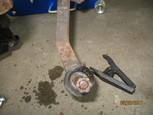
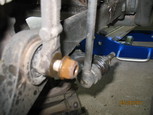
Now remove the sway bar links (tension struts). Only one ends needs to be removed, but I am replacing mine, so I am un-bolting both ends. With the links removed, go ahead and remove the shock clevis from the shock and lower control arm. 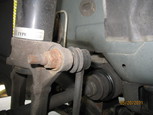
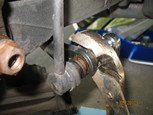
To remove the hub and bearing assembly, there are four male Torx bolts that need to be removed from the back of the hub. Before you remove the bearing, make sure to remove the speed sensor. 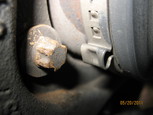
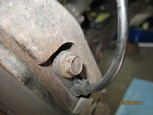
In my rush to fix the drive shaft, I had completely forgotten that I had to borrow a 32mm socket from my neighbor in order to remove the axle nut. Since it was late Friday morning and my car was in pieces, I had to wait for either my neighbor or my wife to come home. I have a neighborhood hardware store within walking distance, but they don't carry anything close to a 32mm socket. Fortunately it was a super nice day and my wife's work let them go early, so just as soon as I started to pack it in for the afternoon, my wife came home. To add insult to injury, the local Pep Boys was out of stock of 32mm sockets. The saving grace was they did sell a Gator Socket for a couple of bucks more that had a max size of 32mm. So I get home with the socket and start working on removing the axle nut. The service manual tells you to remove the axle nut before the brake caliper, as a second body is needed to apply the brakes in order to remove the nut. I honestly did not have any problems removing the nut without having to use the brakes. The problem I did have was with the Gator socket. The problem is that the axle nut is a castle nut and the small pins inside the socket kept on catching on the indentations of the nut. It took me several tries to get to socket on, but once I did, it was easy money. If I had a choice between the standard 32mm socket and the Gator, I would've probably chosen the standard socket. 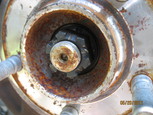
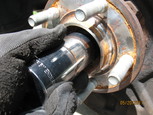
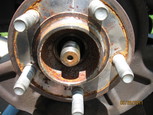
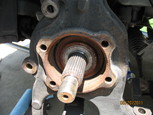
In order to remove the shaft, I also needed to remove the lower ball joint of the knuckle. This is just a matter of using a male hex socket to secure the bolt while using an open ended wrench to loosen the bolt. 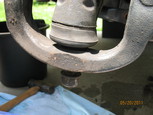
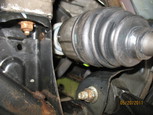
Prior to removing the drive shaft, I sanded and painted the dust shield with some leftover VHT header paint from my Blastin Bobs install. Here is a picture of the new drive shaft installed, new sway bar link, and cleaned up dust shield. I probably need to come back and hit the hub assembly with some rust converter, but thats a project for next time. 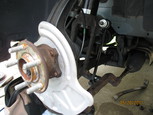
For all of the grease that was caked all over the place, I scraped and wiped all of the excess I could and then hit everything with degreaser. I let it set for about 10 minutes and then proceeded to wipe everything down. Thats it, new drive shaft installed! Back to Chrysler Projects |
|


