| Article ID | 20020313A |
| Subject | How to install FreeBSD...My way! |
| Concept | A walkthrough of my typical FreeBSD install procedure |
| OS | FreeBSD |
| Page 2 |
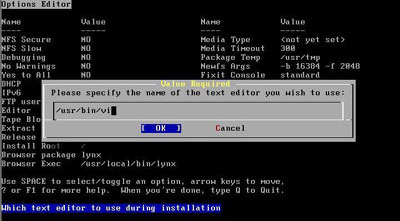
I then change ee to vi and press enter. Then I press "Q" to quit and go back to the Custom Installation Menu. |
|
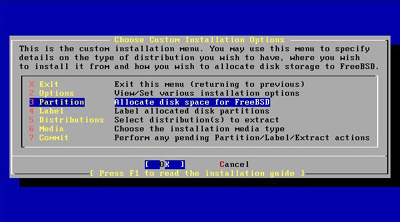
After changing the options, now its time to partition the disk out. Select Partition from the Custom Installation Menu and press enter. |
|
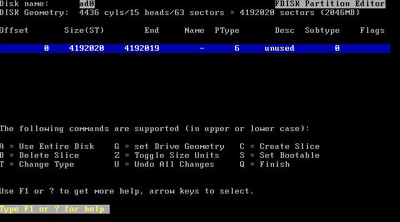
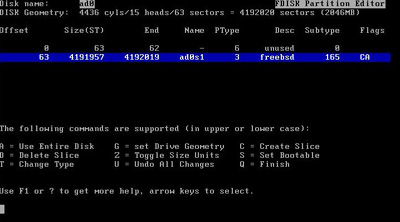
Disk partitioning in FreeBSD is a little different than any other operating systems like Linux and Microsoft Windows. FreeBSD uses a "slice" partition format. In Linux type file systems, you have a partition for each different mount points. In Windows you have different partitions for different drive letters. FreeBSD will have a single partition made up of slices. The slices will be the different mount points. Since this will be a dedicated system, I just press "A" to use the entire Disk. |
|
Now you will have an entry somewhat the same as below. VMware limits the disk size to 2 gig, so the numbers on your system will most likely be different. |
|
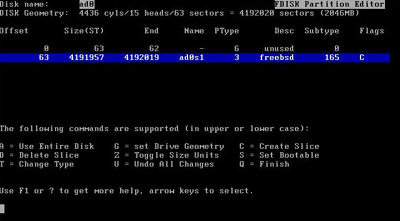
Now that the disk is allocated for FreeBSD, we will also need to make the partition bootable. Pressing "S" will add the bootable flag to the partition. You will notice an "A" in the flags column to indicate that the partition is now bootable. Now press "Q" to confirm the partition settings. |
|
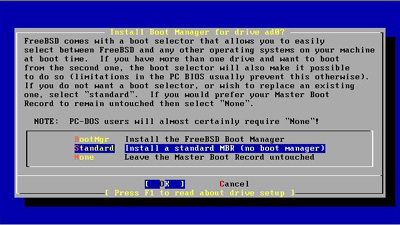
Once you confirm the disk partition information, you will be prompted to install a boot-loader. Select Standard and then tab to "OK" and press enter. |
|
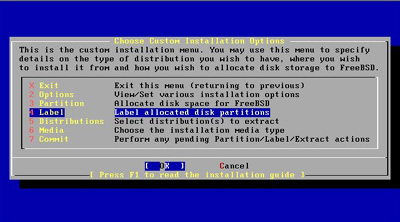
You will now be back to the Custom Installation Menu. Now we need to create the different mount points called slices. Select "Label" and press enter. |
|
|
©2004-2020 Paul Boehmer |


 |